Temporary tattoos: what they are and what they are
Temporary tattoo is a drawing on the skin, which will wash off/remove after some time, usually from a day to a month.
Before we tell you how to do a temporary tattoo at home, you need to decide which one you like. There are many temporary tattoos, they are all done differently and each one looks and feels different too. In many ways the amount of time a tattoo will last depends on how it is cared for and where it is applied. If cared for properly, it can adorn you long enough.
There are rumors about annual tattoos. Do not believe it, this is a myth. They do get them done by some masters, but the problem is that they don’t magically disappear. Some claim that instead of gradual disappearance, you get a bluish shapeless stain, and it’s not going anywhere. Other masters say it can’t happen in principle – there are no such colors. The pigment is either in the dermis and stays there for life, or it’s on the surface and will wash out with plain water.
Airbrush tattoo
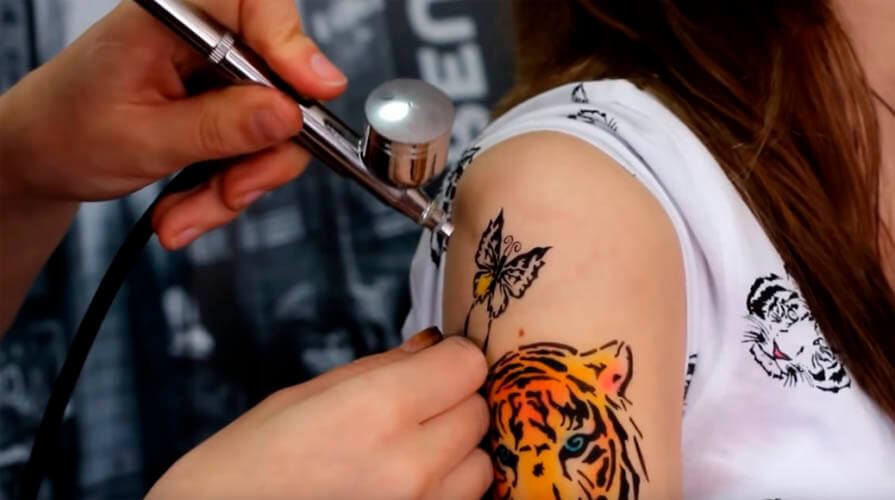
More than any other similar to a real tattoo, but for this you need a special device – an airbrush and a special paint with a chemical composition. There are no restrictions in this case, you can choose a drawing of any complexity, color or size. The paints have a special composition based on silicone – you can not fear that the tattoo will crack when you move. To make such a temporary tattoo at home will be problematic.
Airbrush stays on for several days, then gradually fades and disappears. The paint is applied on the stencil, which is held with fingers or glued to the skin with scotch tape, but some talented artists can easily do without them. That is the way to do actors tattoos for roles on the set. Great help makeup artists, no need to adjust the drawing after every scene.
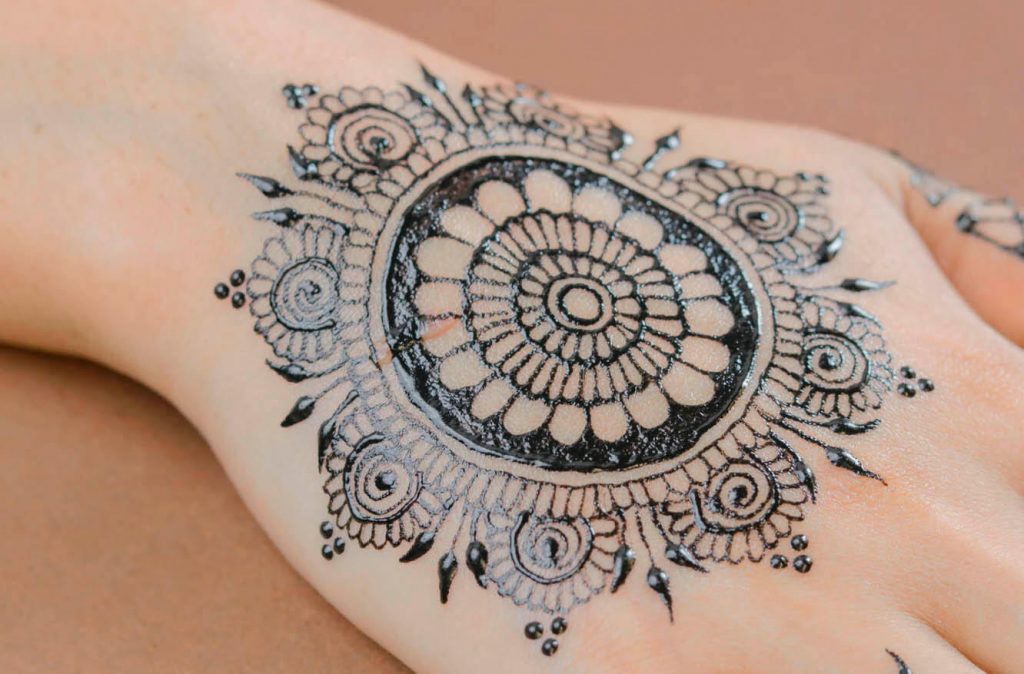
Henna or mehendi tattoos
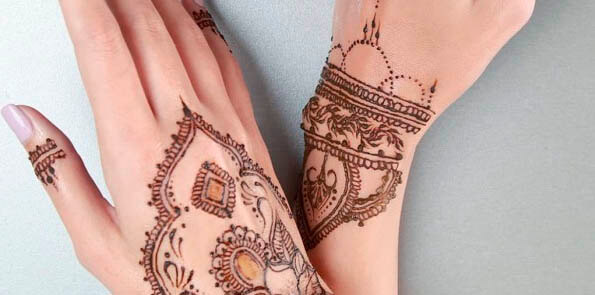
The most durable of all tattoos, lasts up to a month. It is made by a special eco-color – henna. Came to us this beauty from far away India and every day is becoming more and more popular. For mehendi you need a minimum skill in drawing or a stencil. Henna is a beautiful painting on the body, it looks unusual and interesting. Over time, it will change color. At first it will be very bright, maybe even eerie orange (depending on the composition of the henna), but the next day it will be a noble dark brown color. The older the mehendi, the duller it is. Before you do a temporary henna tattoo, check if you have no allergies. It is rare, but it does happen.
Usually henna is a brown color, but you can make a black and white version. Then the picture will definitely become original.
Preparing the coloring compound is very simple:
- Sift the powder through a sieve to eliminate all small impurities.
- Lemon juice is squeezed into the mixture. The proportion is 1:3.
- Everything is mixed until a paste is formed. It should be wrapped and put in a container. In this form, the mixture should be left for 12 hours. It is important to store it in a dark place.
- The consistency should be homogeneous and not very liquid. If it turned out thick, you need to dilute it with a small amount of lemon juice, not water.
- 1 teaspoon of sugar will help make the powder more malleable.
You can add essential oils to the mixture to add flavor.
To make a black color from the brown henna, you need to add basma. The pattern can be made, thanks to special tubes, but some people prefer to draw it by hand. If the pattern turned out not perfect, all the errors can be easily corrected. A few strokes with a cotton swab and it’s done.
Using special paper
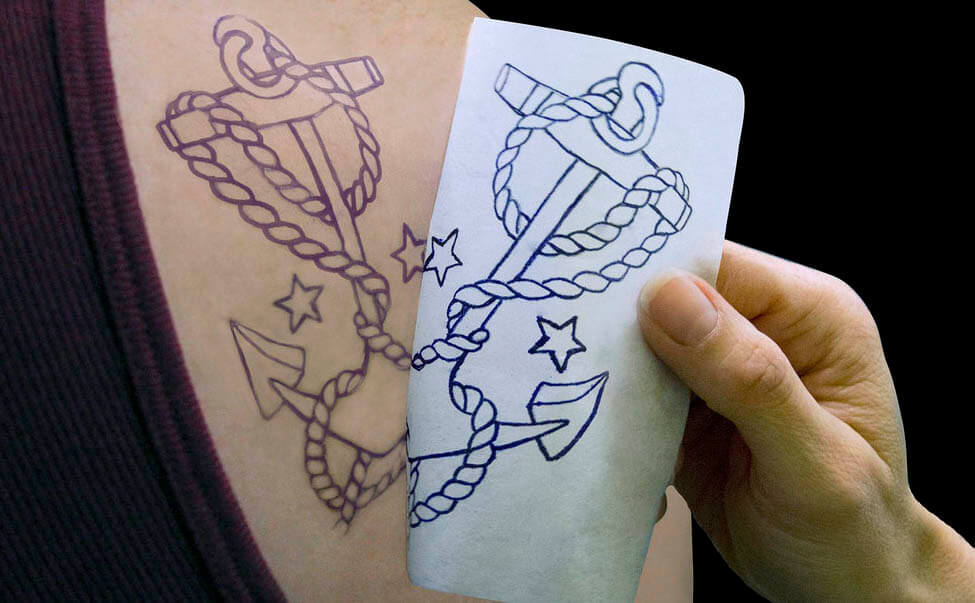
Buy paper that has a self-adhesive film and a paper backing. You can buy such paper in specialized tattoo stores or in a store that sells products for needlework.
Choose a picture design. Unlike other tattooing techniques, the use of special paper opens up a flight of fancy. There are no restrictions in the size of the image, the complexity of the pattern and the width of the lines. You can even create your own drawing in a graphic editor.
Important! As with the paper tattoo is transferred in a mirror image, so the words on the picture should be written backwards.
Print the image on special paper. If you have a color printer, you can do it at home. It is necessary to make sure that the picture was printed on a self-adhesive film, not the backing.
The tattoo is cut out with manicure scissors.
Applying the image with ink on the skin. It is necessary to press the place of application well with a towel. Hold it for a minute, then you can remove the rest of the paper.
The picture will stay on the skin for about a week. But if you get tired of the image sooner, you can wash it off with a soapy solution and a stiff brush.
Shimmer or Glitter Tattoo
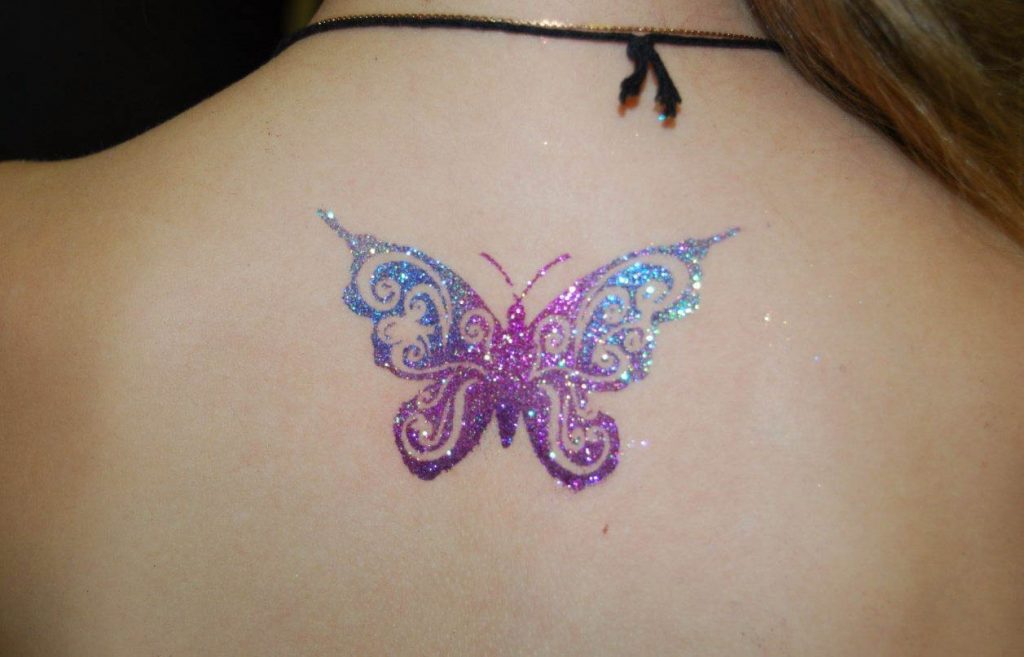
This type of temporary tattoo at home is very easy to do. All you need is a special hypoallergenic glue and glitter, a stencil at will. All this is easy and inexpensive to buy in a store or order it online. Holds such a tattoo for up to two weeks, with proper care. Thanks to the glitters get a very beautiful and bright picture. If something is not to your liking, the tattoo is easily removed with a special solution or alcohol. You can also soap and water, but it will be long and painful.
Making a glitter tattoo is simple enough, but the following tools are needed:
- Glitter itself (it is better to buy special for tattoos);
- Special transparent glue;
- Brushes for glitter and glue;
- Liquid for washing brushes (you cannot wash them from glue and glitter with soap);
- Stencil (if desired);
- Alcohol or vodka;
- Brush fan (to remove excess glitter).
Step-by-step instructions:
- First choose a pattern. Take the question responsibly, so you don’t have to redo it later;
- Clean and degrease the skin with alcohol or vodka. If this step is omitted, the design will quickly crumble;
- If you have a stencil, remove the opaque film from it;
- Sit down comfortably and relax;
- Apply the stencil to the area where you want to make the temporary tattoo;
- Gently peel off the clear film;
- It is time to apply the glue. This should be done in a thin layer. If the design is large, to prevent premature drying, the glue is applied to small areas, not to the entire design at once;
- Carefully remove the stencil from the skin;
- From the edges to the center, apply the glitter with a special brush;
- Remove excess with a fan brush. Done!
Important: it is necessary to apply glitter to the whole glue, otherwise something else will stick to it.
How to make a temporary tattoo with an eye pencil
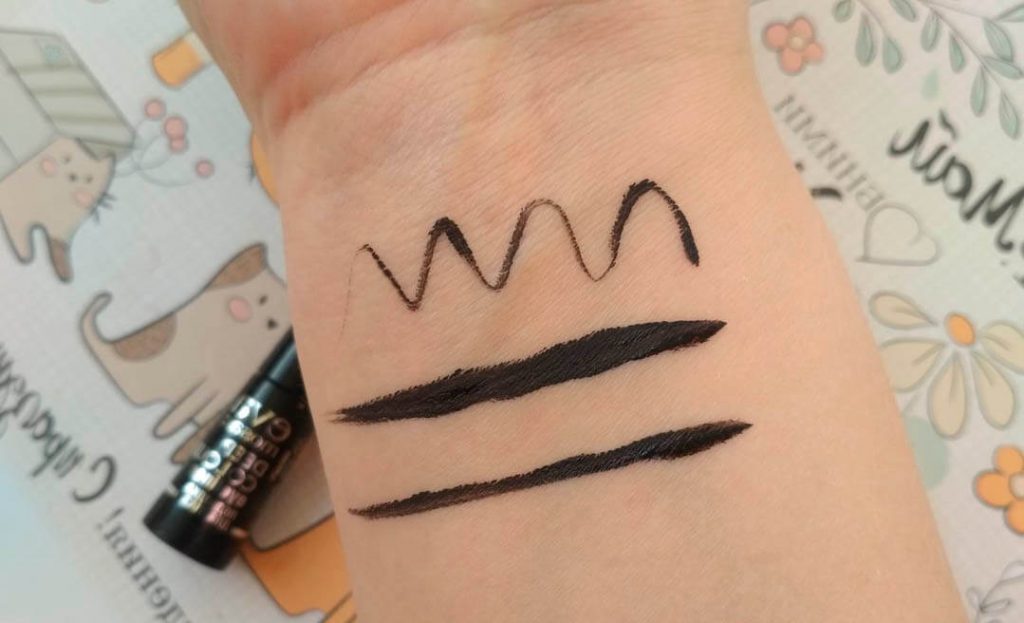
Come up with a design for a temporary tattoo. To get a good result beforehand try to draw your sketch on paper. This will save you from simple mistakes and blunders. For this, you can take a simple pencil to sketch out ideas keeping in mind: Your temporary tattoo will have simple and clear lines. Thin and complex patterns will most often quickly blur and become unrecognizable. Stick to clear shapes. After that, choose the size of the tattoo. A large one will look like it was just drawn by hand, while a small temporary tattoo will be more similar to a real one. In short, choose a sketch to your liking.
Tool
The simplest eye pencil will do. It is better to choose one that can be sharpened with a sharpener. Do not use pencils with glitter or oil as these will make the tattoo get blurred very quickly. What else is important:
Color. A home tattoo looks great in black. You can experiment with colors: choose lilac, purple or emerald. They perfectly combine with black and will add variety to the drawing;
Consistency. Do not choose liquid eyeliner. It will flow out and spoil the whole picture, if you put it on your hand, but not on the eyelid. Such eyeliner only looks great on the eyes.
Applying
- Clean and degrease your skin;
- Take your time. It will only harm your skin if you rush. Draw carefully, line by line;
- If you don’t like the drawing, simply wash it off and draw again;
- A cotton pad or palm may be used to create a nice shadow.
Fixing
Apply hairspray on top of the finished tattoo, this will help it “live” longer. The amount of varnish will not affect the time that the tattoo, made at home by yourself, will last. This means that it is useless to pour the whole jar on your hand, the picture will not last longer than a day.
How to remove temporary tattoos
It is better not to wear such a drawing on the skin longer than a day. Varnish will not save you from stained sheets while you sleep. A tattoo made with an eye pencil is very easy to wash off with normal room temperature water and soap.
As you can see, all methods are simple enough. If you do not know how to draw, that’s okay! You can buy a stencil or make one yourself: just cut out the desired drawing on adhesive paper and you’re done!